Window Watcher
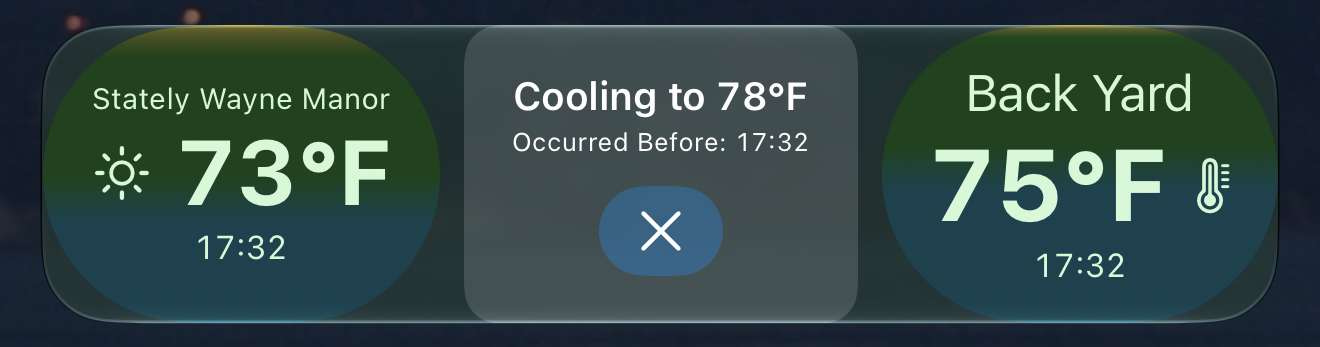
Combine the power of Apple Weather with your own HomeKit temperature sensors to know exactly when it’s time to open or close your windows.
Set custom temperature triggers to bring Live Activities like this right to your Lock Screen. Check your own sensors to know when the weather forecast isn’t matching your microclimate.
Widgets
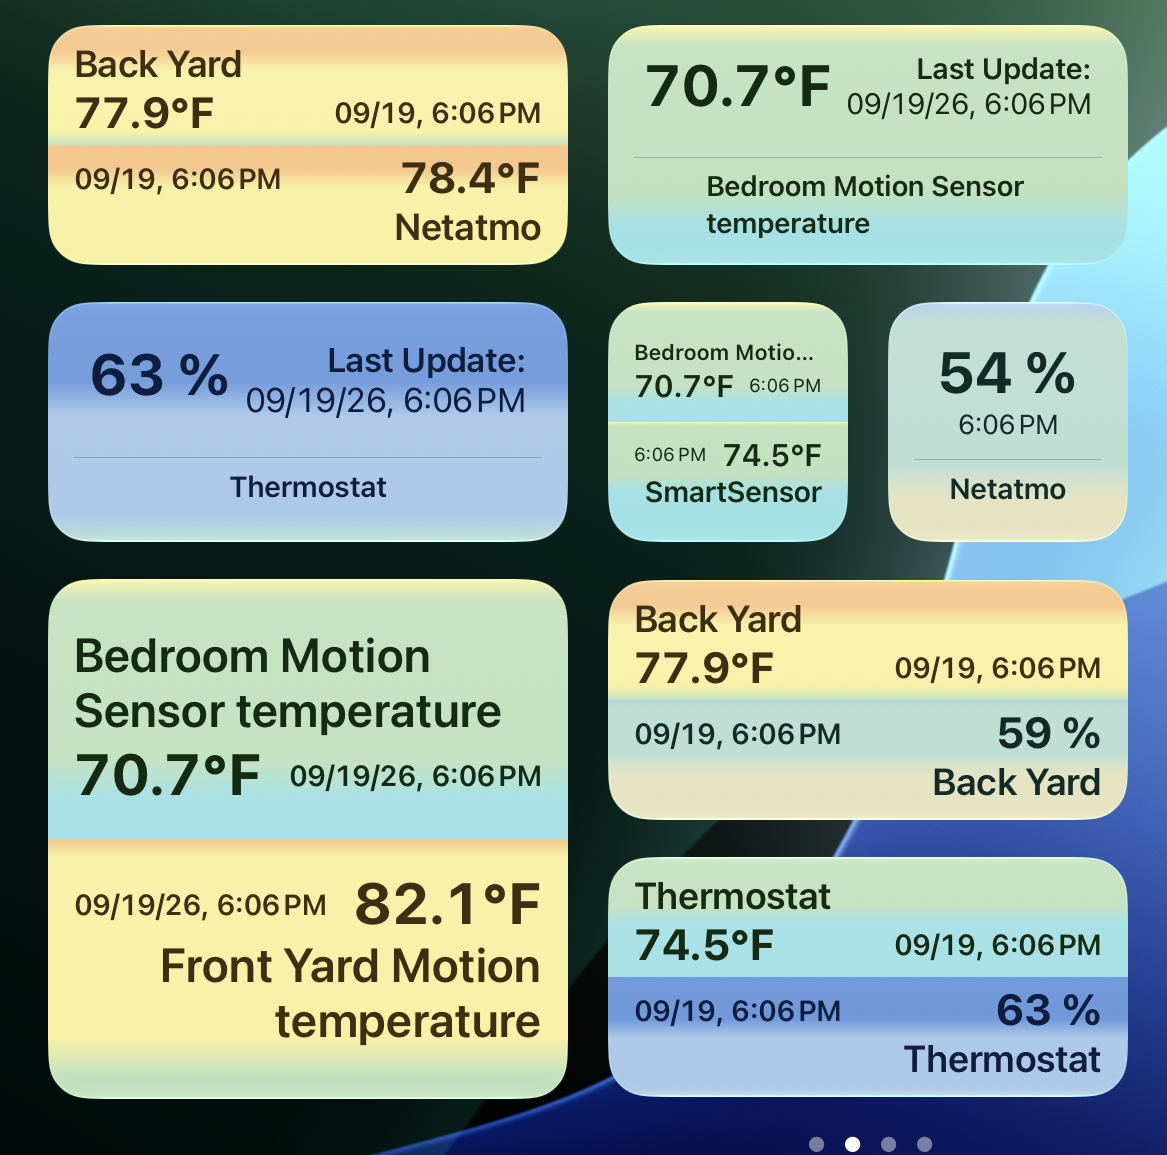
Display your HomeKit sensors in colorful widgets that let you monitor temperatures and humidity inside, outside and compare across your home.
Setup Instructions
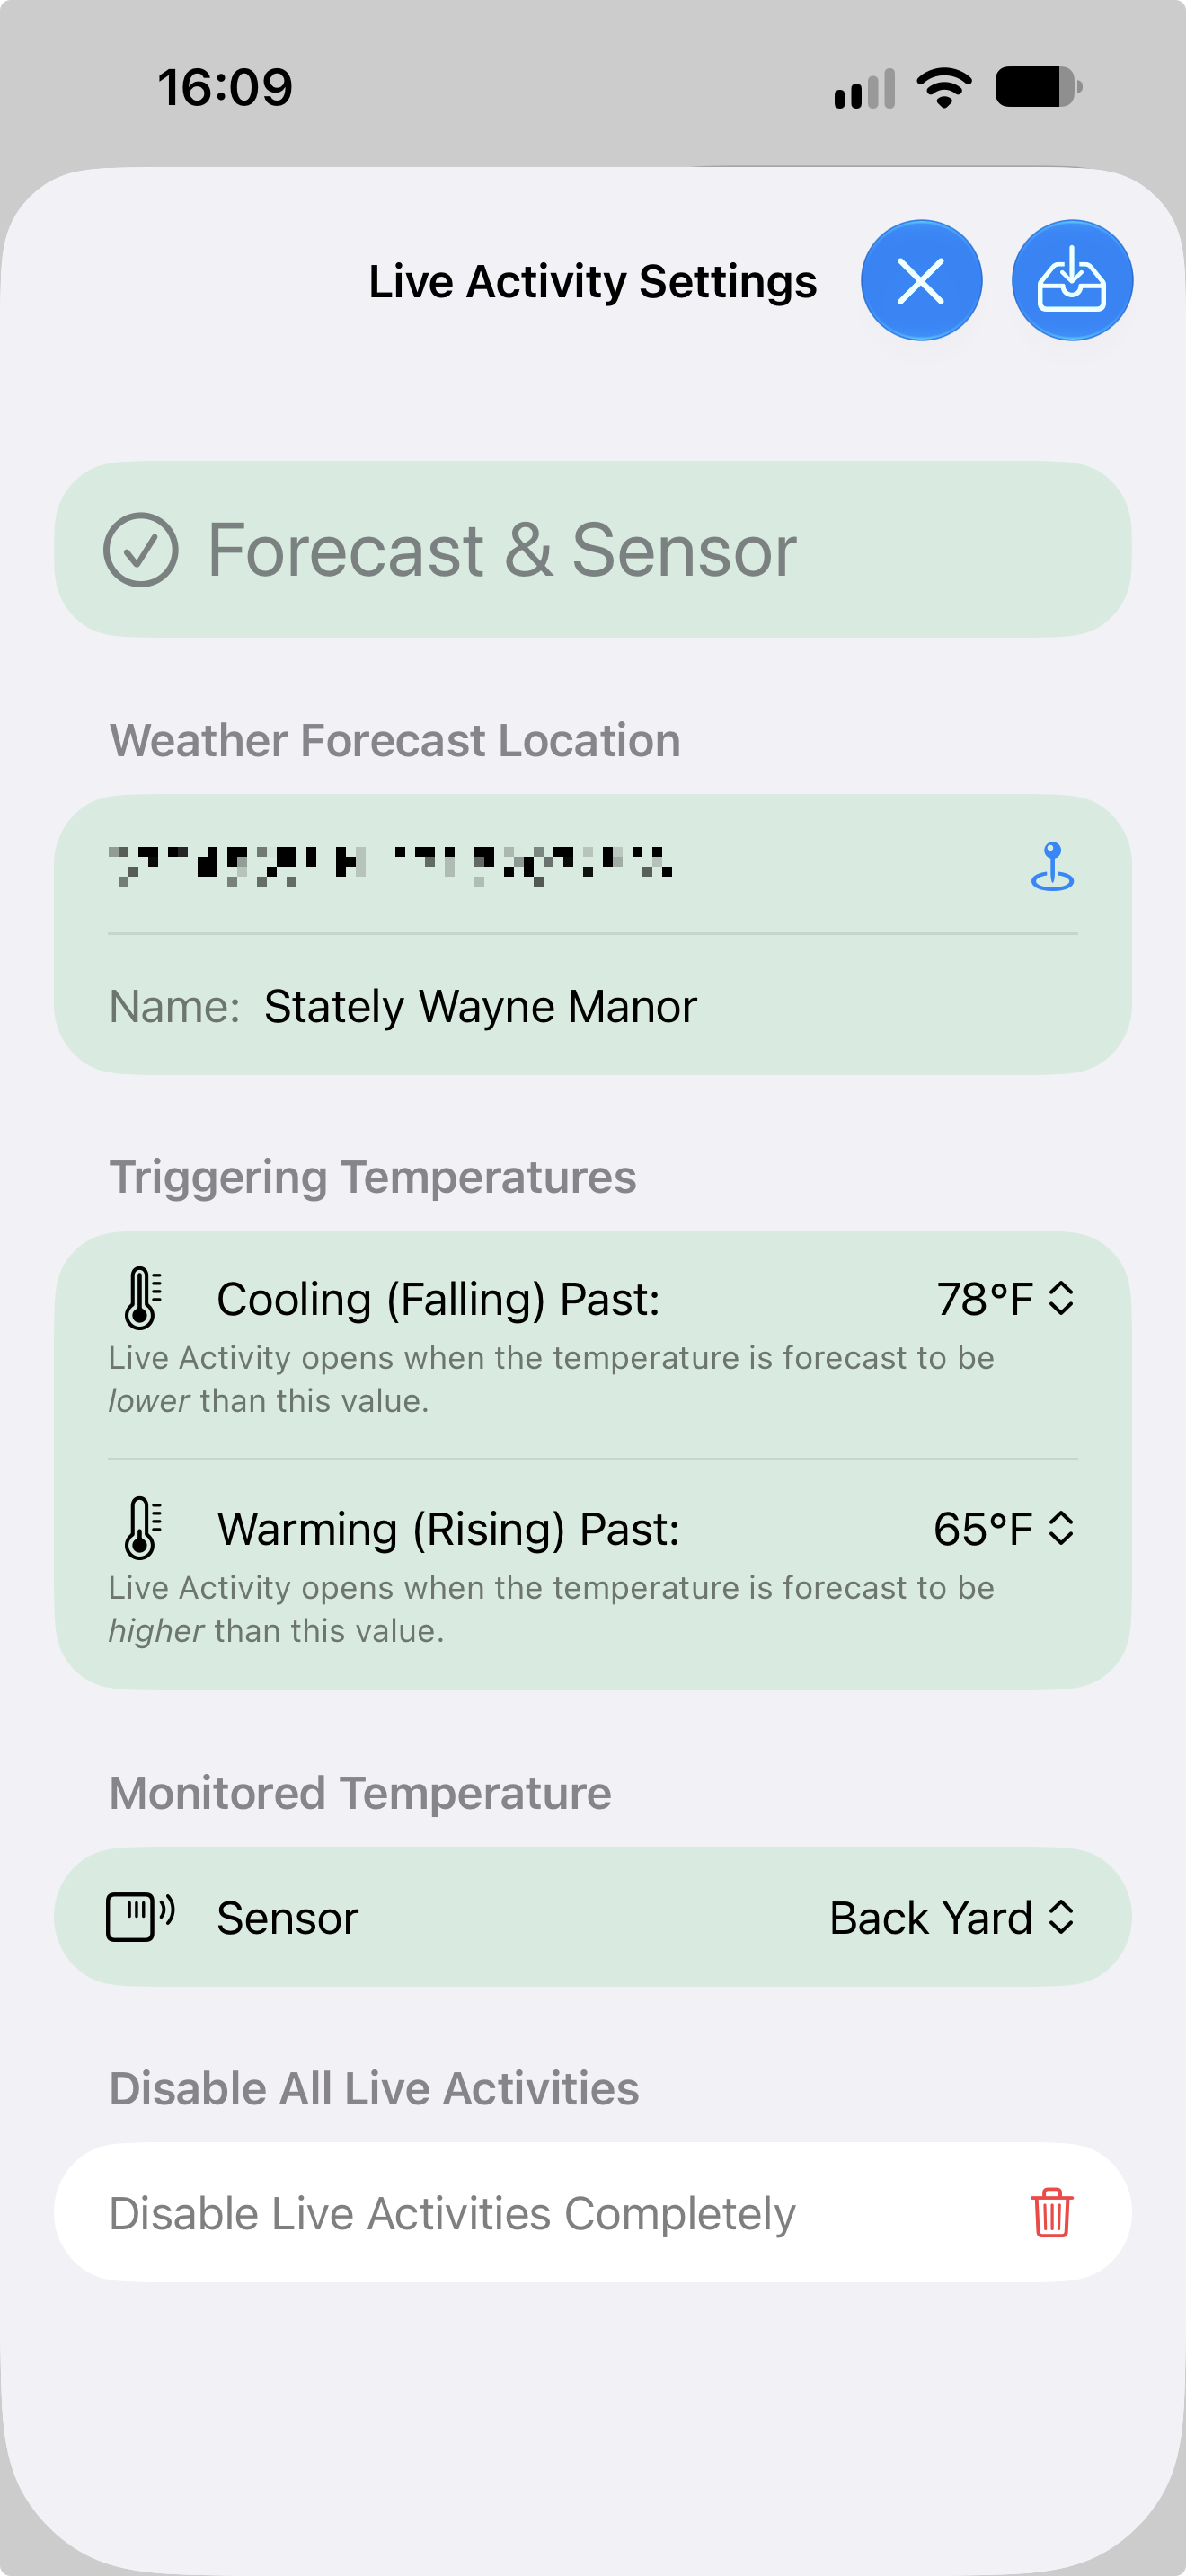
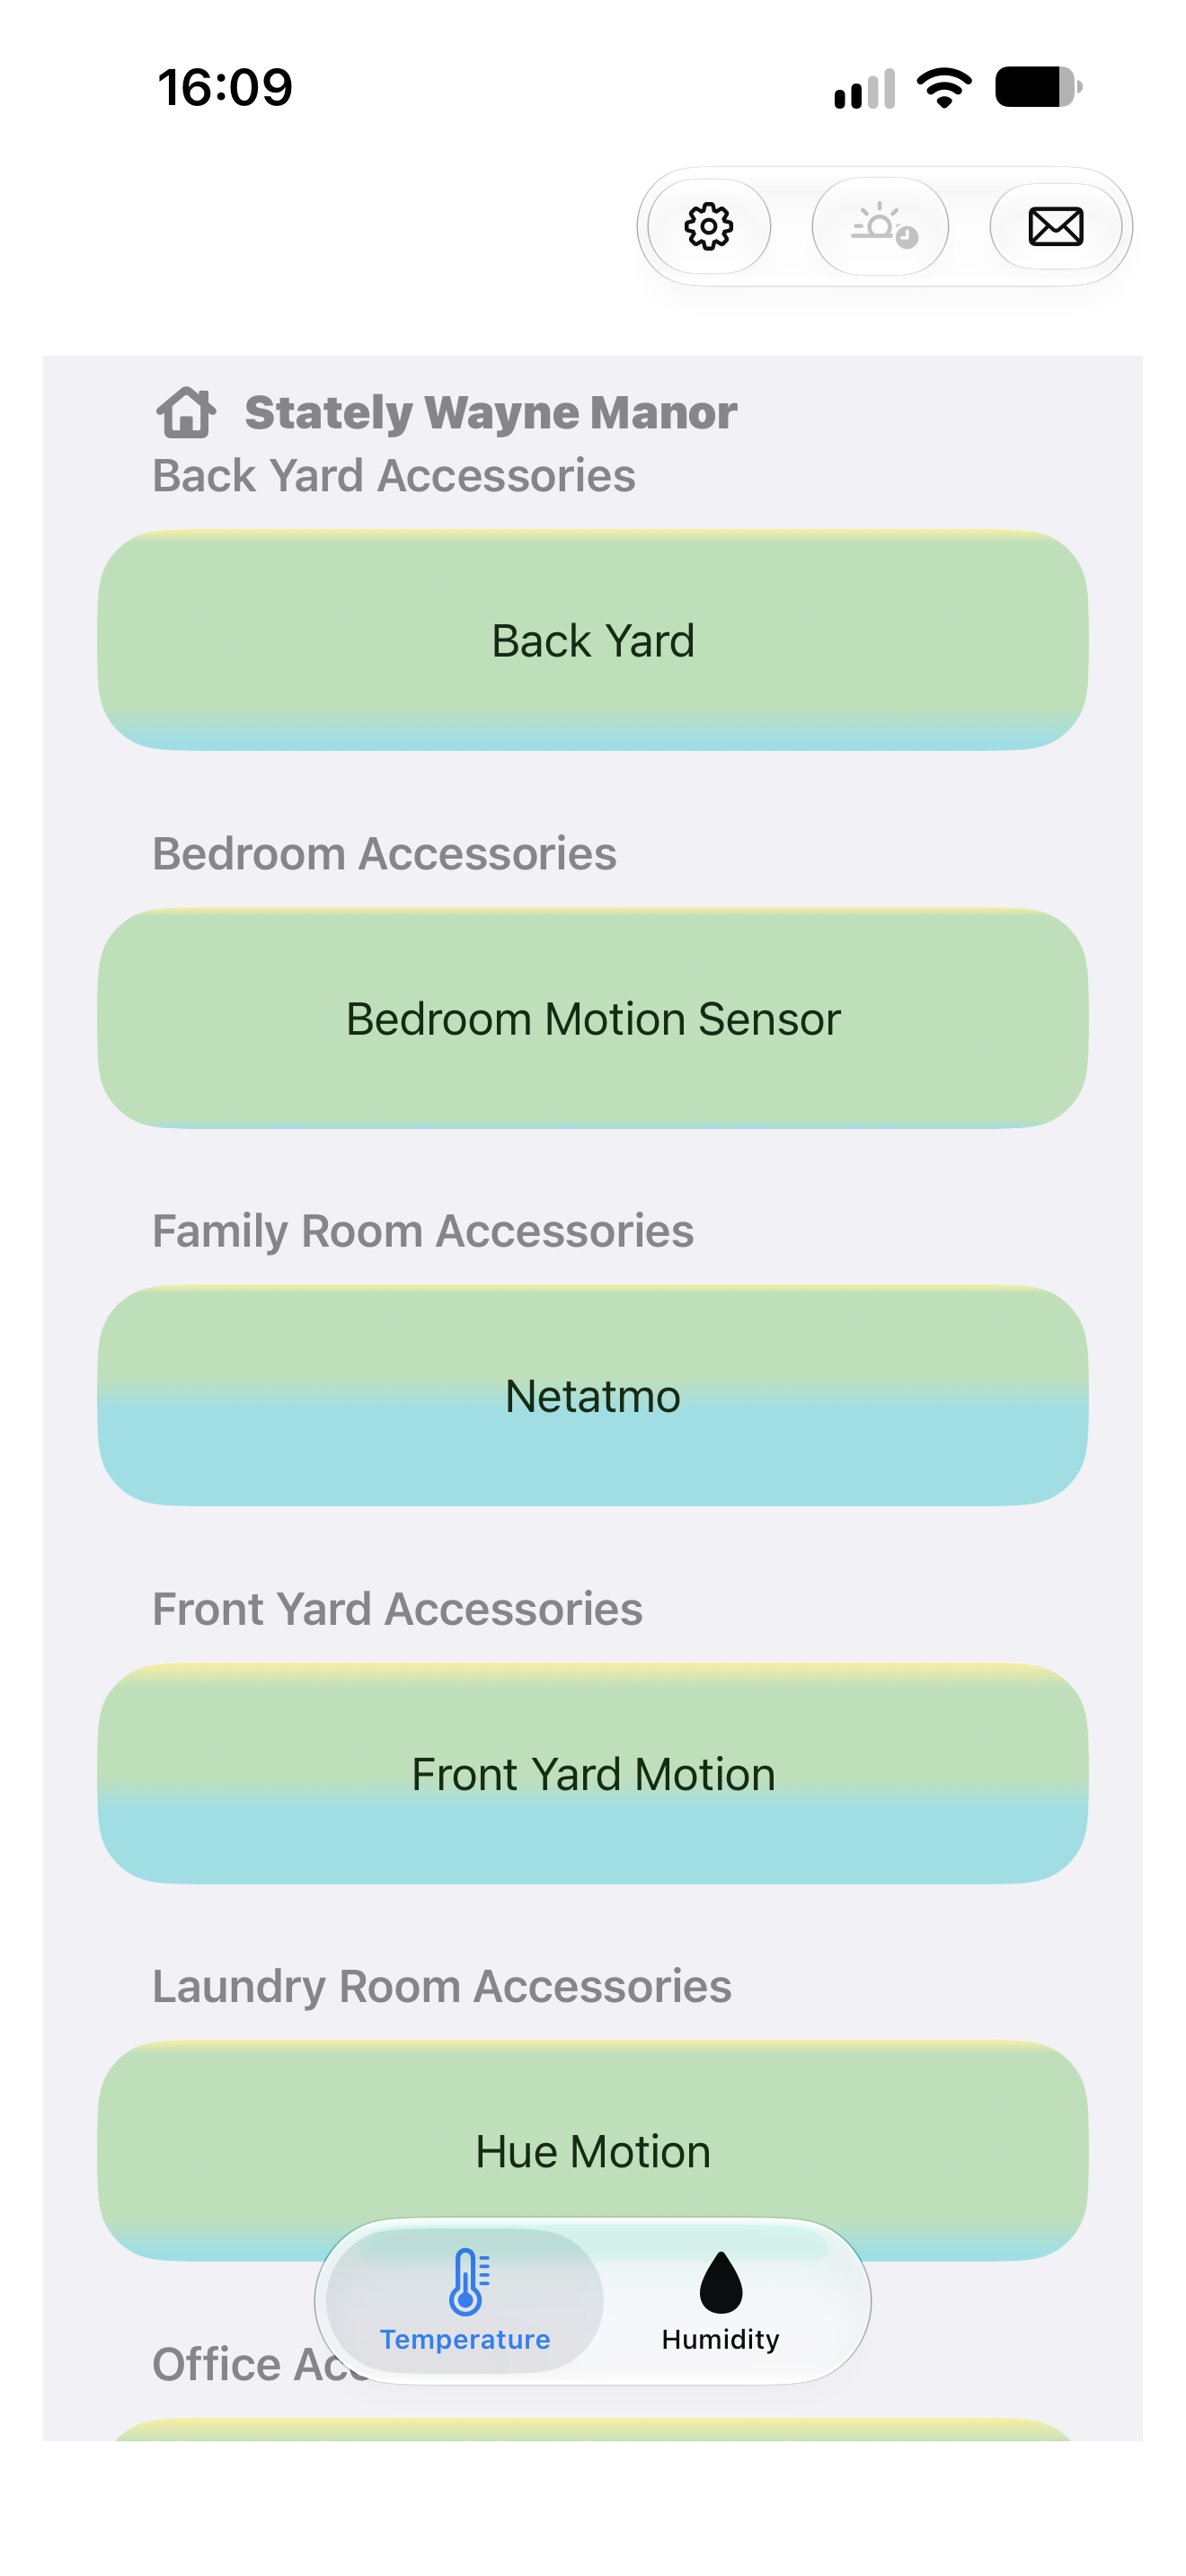
On first launch you’ll be prompted to allow HomeKit access and then you’ll see a screen like this, depending on your HomeKit sensors installed:
Tap the Gear button at the top to open the Live Activity Settings sheet.
Set the Weather Location
Here you can configure your desired settings for Live Activity posting. At a minimum you need two pieces of information:
A location (used to retrieve weather forecasts)
At least one triggering temperature (the temperature when you want a Live Activity to open)
The easy way to set the location is to use your phone’s location services:
Open Settings at the location you want to monitor.
Tap the map pin under “Weather Forecast Location”.
iOS will ask for location permission. Tap to allow at least once (you can turn precise off if you’d like) and Window Watcher will fill in the location.
If you can’t use your phone’s location you may enter a normal coordinate string in the text field. I find copying a location from Apple Maps is the easiest way to get these.
You can set a Location name like “My House” or “Supervillain Lair” here if you’d like, it will appear in the Live Activity. If you plan on using a HomeKit sensor with Window Watcher we’ll offer to copy the home name into the location in a bit.
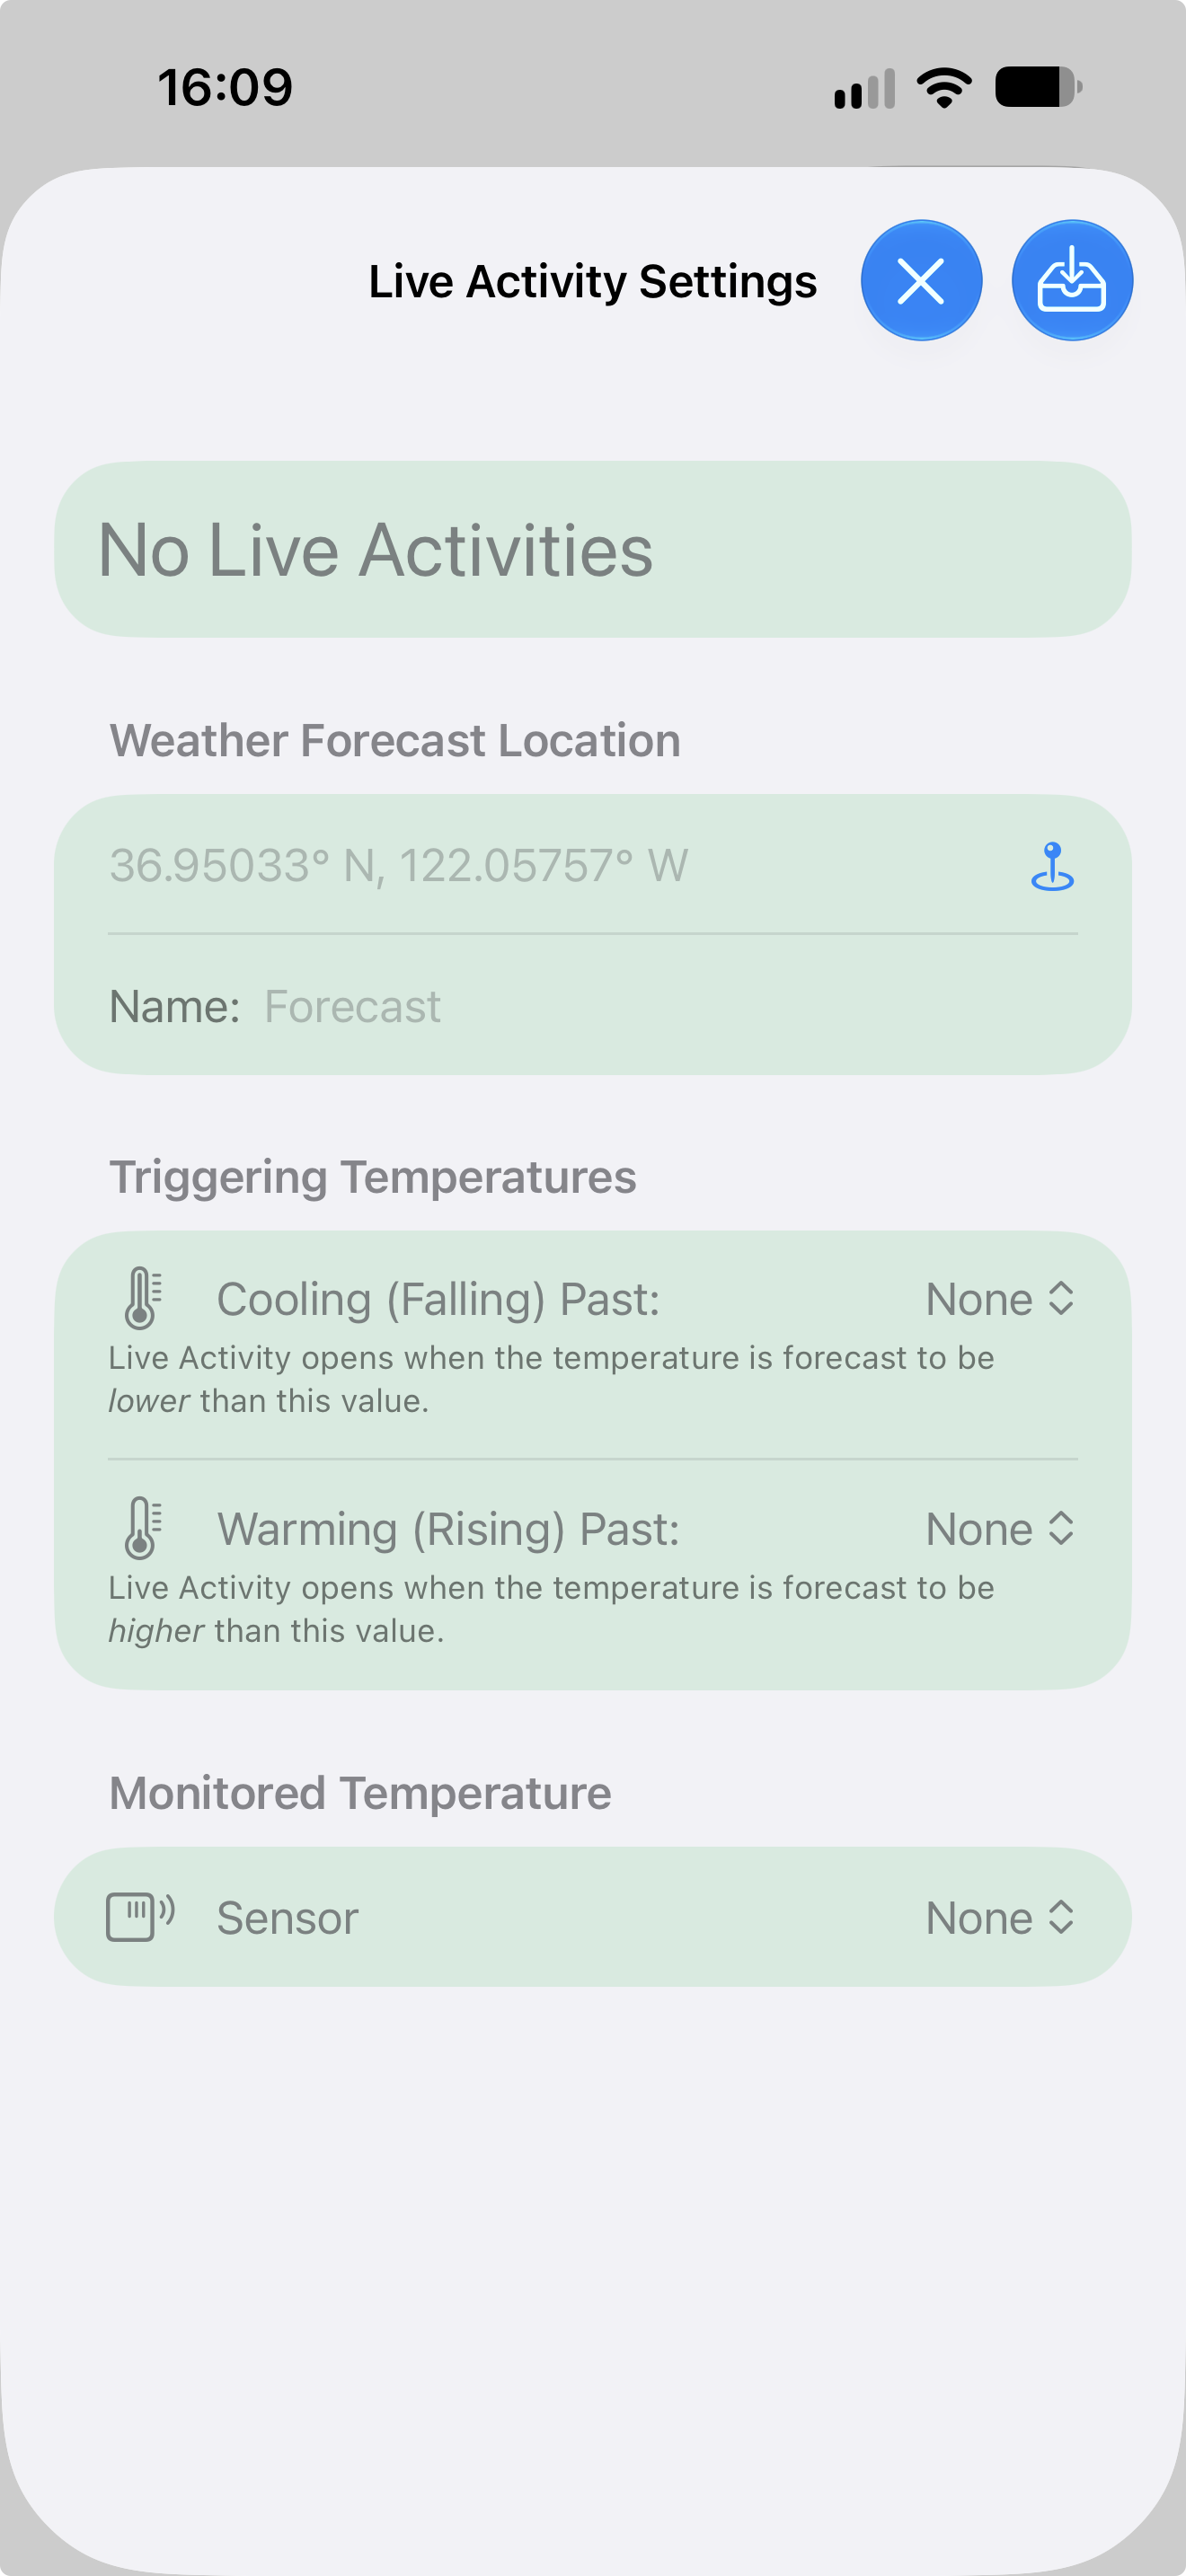
With the location filled in all you need now is to set at least 1 triggering temperature. (You may set both if you’d like to get two Live Activities daily.)
The first one is marked “Cooling (Falling)” and will look for a forecast hour where we expect the temperature to begin above this value and fall to that value or lower.
The second one is “Warming (Rising)” and will look for a forecast hour where we expect the temperature to begin below this value and rise to that value or higher.
Tap and set one or both of these.
If you don’t have HomeKit Sensors or don’t want to use them you’re done! Tap the save button in the upper right and you will start seeing Live Activities based on purely the weather forecast data. If you do want to use a HomeKit sensor then read on!
Set a Trigger Threshold
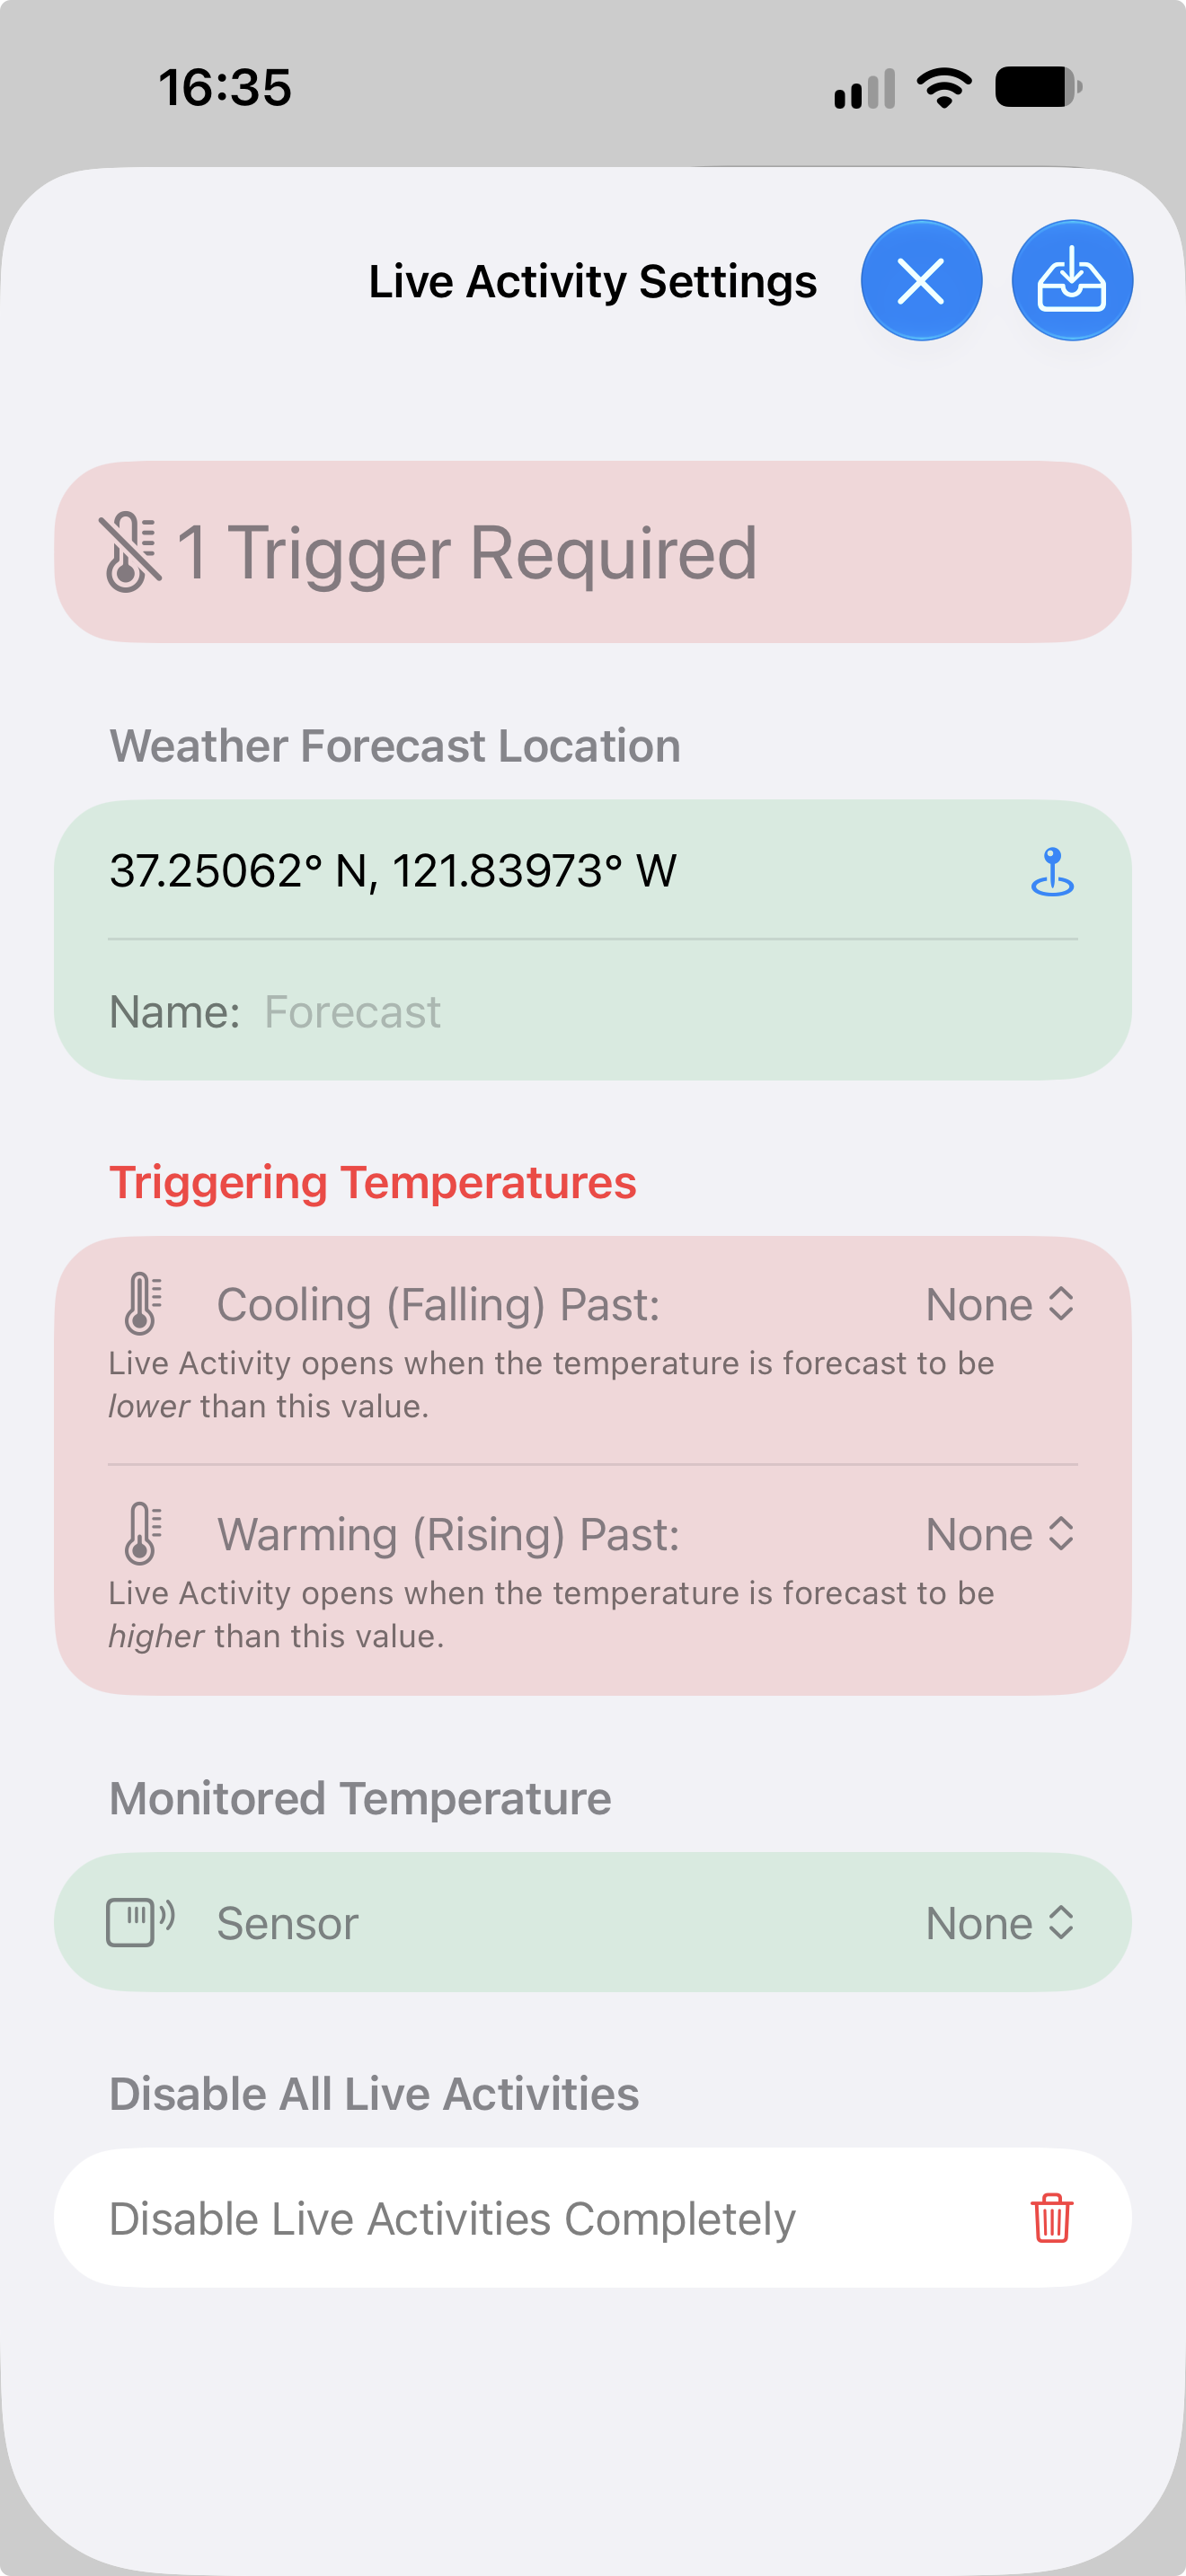
If you pick a HomeKit sensor in your home the Live Activity will provide a button for updating the value of that sensor right on your Lock Screen.
With a sensor selected the Live Activity will remain active until the sensor actually crosses the temperature trigger, regardless of the area forecast readings.
When the banner says “Forecast & Sensor” like shown here you have configured. your Live Activity successfully.
When you pick a sensor Window Watcher will offer to copy your HomeKit home name in the Location Name field. Copy it if you’d like that name displayed in the Live Activity
Optional: Pick a Sensor